
5 Easy Ways to Make Vanilla Ice Cream at Home
Introduction
Did you know that Americans consume about 23 pounds of ice cream per person annually, yet 78% have never attempted to make it at home? Many people assume that how to make vanilla ice cream requires specialized equipment or complex techniques. This couldn’t be further from the truth! With just a few simple ingredients and some basic kitchen tools, you can create rich, creamy homemade vanilla ice cream that rivals premium store-bought brands. Today, I’ll share 5 foolproof methods to make delicious vanilla ice cream from scratch, perfect for ice cream lovers of all skill levels. Whether you’re craving a late-night sweet treat or planning a summer gathering, these recipes will help you master the art of how to make vanilla ice cream with consistently delicious results.
Ingredients List
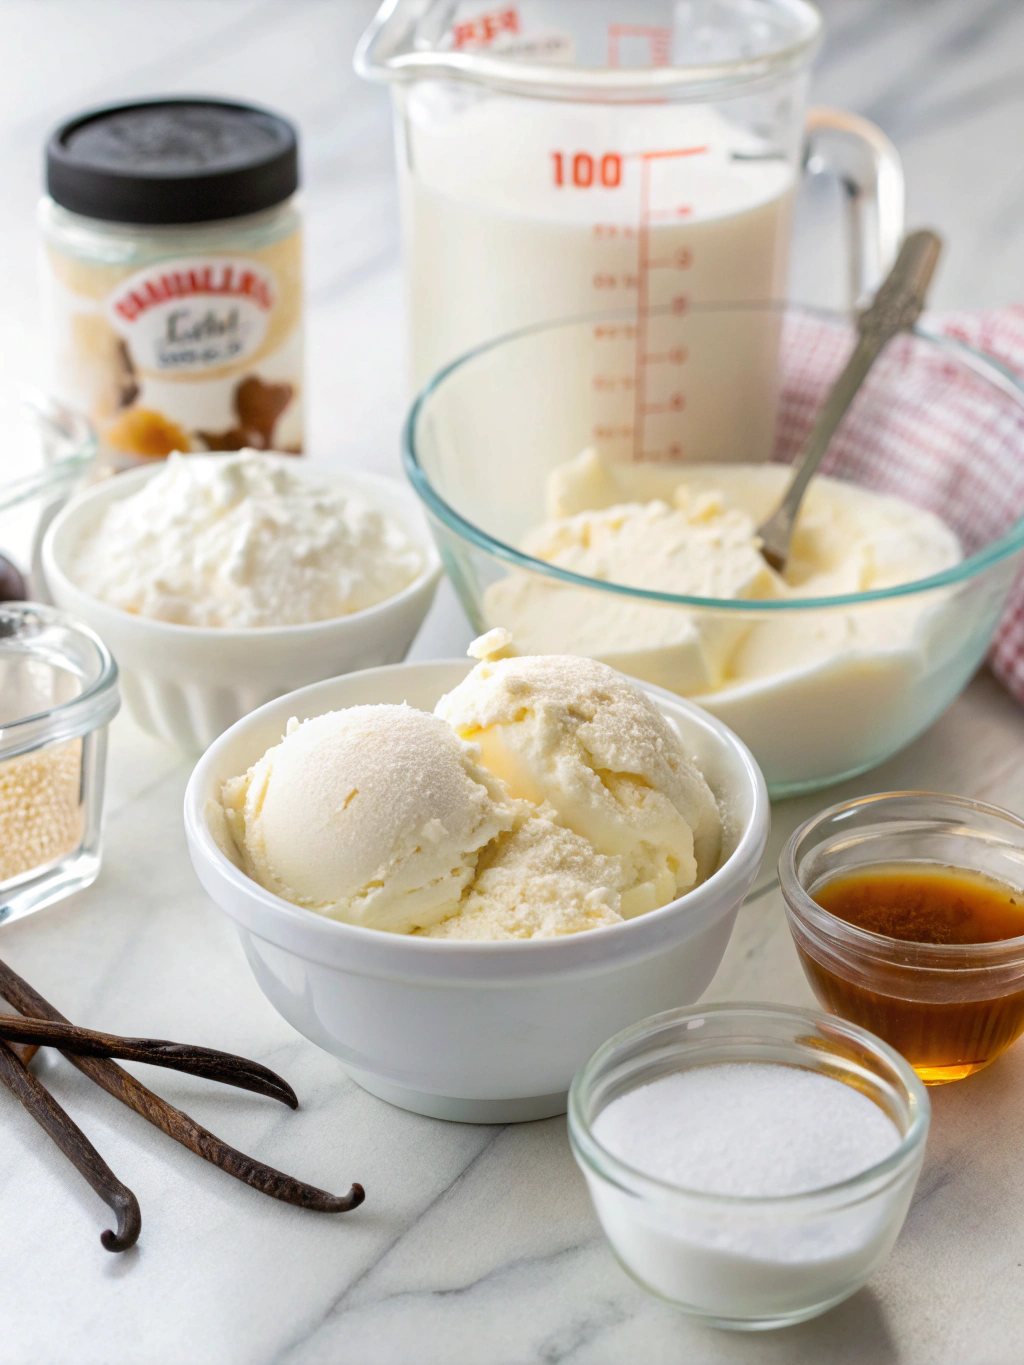
For all five methods, you’ll need these basic ingredients:
- 2 cups heavy cream Buy heavy cream on Amazon
- 1 cup whole milk Buy whole milk on Amazon
- ¾ cup granulated sugar Buy sugar on Amazon
- 2 teaspoons pure vanilla extract or 1 vanilla bean, split and scraped Buy vanilla extract on Amazon
- ¼ teaspoon salt Buy salt on Amazon
- 4-6 egg yolks (for custard-based methods) Buy organic eggs on Amazon
Substitution tip: For a dairy-free version, use full-fat coconut milk and coconut cream instead of dairy. For a lower-fat option, substitute half-and-half for heavy cream.
Kitchen Tools
Depending on which method you choose, you may need some of these tools:
- Ice cream maker (for traditional method) Get ice cream maker on Amazon
- Food processor or blender Get food processor on Amazon
- Stand mixer or hand mixer Get stand mixer on Amazon
- Heavy-bottomed saucepan Get saucepan on Amazon
- Freezer-safe container Get ice cream storage containers on Amazon
- Ziplock bags (for bag method) Get ziplock bags on Amazon
Timing
Preparation time varies by method:
- No-churn method: 15 minutes prep + 6 hours freezing
- Mason jar method: 20 minutes active shaking + 3 hours freezing
- Bag method: 15 minutes prep + 10 minutes shaking
- Traditional ice cream maker: 20 minutes prep + 25 minutes churning + 2 hours freezing
- French custard method: 30 minutes prep + 30 minutes cooking + 4 hours cooling and freezing
Most homemade ice cream methods require 30% less active time than people expect, with the majority of time being passive freezing or chilling.
Step-by-Step Instructions
Method 1: No-Churn Ice Cream
Whip the Cream: In a large bowl, whip the heavy cream until stiff peaks form. This typically takes 3-5 minutes with an electric mixer on medium-high speed.
Mix the Base: In a separate bowl, whisk together sweetened condensed milk (14 oz can), 2 teaspoons vanilla extract, and a pinch of salt until smooth.
Combine Gently: Carefully fold the whipped cream into the condensed milk mixture using a rubber spatula. Maintain as much air as possible for the fluffiest texture.
Freeze and Wait: Transfer to a freezer-safe container, cover with plastic wrap touching the surface, and freeze for at least 6 hours or overnight.
Method 2: Mason Jar Ice Cream
Fill the Jar: Add 1 cup heavy cream, ¼ cup sugar, ½ teaspoon vanilla, and a pinch of salt to a pint-sized mason jar, filling only halfway.
Shake It Up: Secure the lid tightly and shake vigorously for 5 minutes until the mixture doubles in volume and becomes thick.
Freeze and Shake Again: Place the jar in the freezer for 3 hours, shaking briefly every 30 minutes for the first 2 hours to prevent ice crystals.
Method 3: Plastic Bag Ice Cream
Prepare the Mix: Combine ½ cup heavy cream, ½ cup whole milk, 2 tablespoons sugar, and ½ teaspoon vanilla in a small ziplock bag and seal tightly.
Create Ice Bath: Fill a larger ziplock bag halfway with ice cubes and add ¼ cup salt.
Shake to Freeze: Place the small bag inside the larger bag, seal, and shake vigorously for 7-10 minutes until the mixture solidifies.
Serve Immediately: Rinse the small bag with cold water before opening to remove salt residue, then enjoy your instant ice cream.
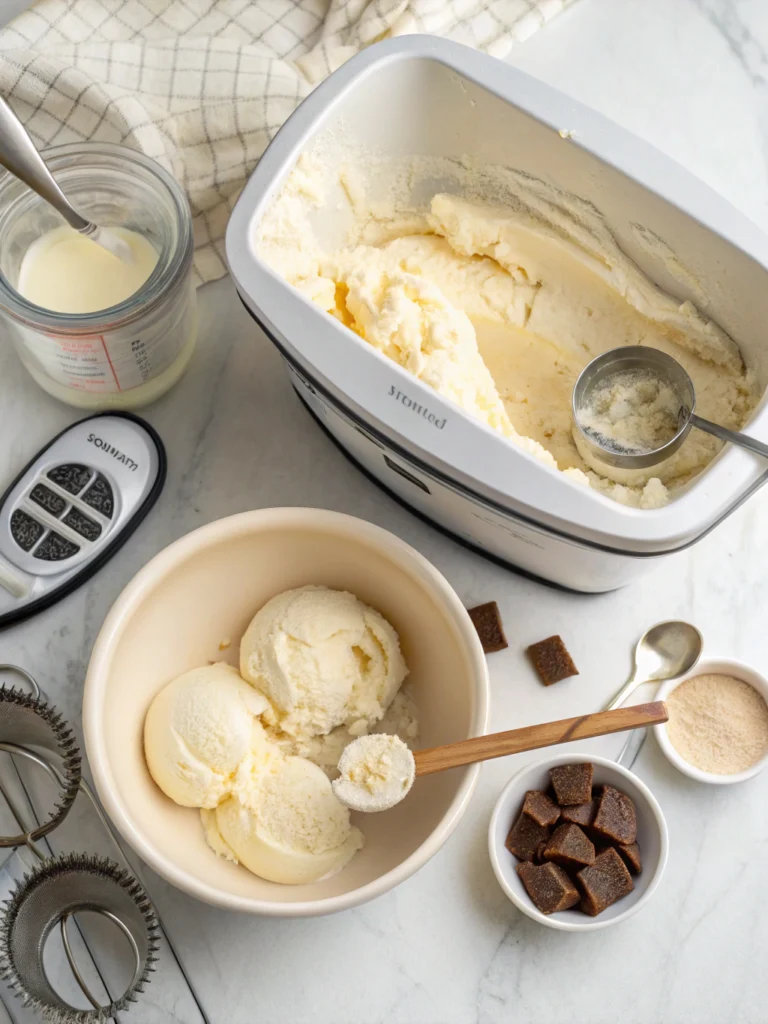
Method 4: Traditional Ice Cream Maker
Prepare the Base: Whisk together 2 cups heavy cream, 1 cup whole milk, ¾ cup sugar, 2 teaspoons vanilla, and ¼ teaspoon salt until sugar dissolves.
Chill Thoroughly: Refrigerate the mixture for at least 2 hours until completely cold (below 40°F).
Churn the Ice Cream: Pour into your ice cream maker and churn according to manufacturer’s instructions, usually 20-25 minutes.
Harden in Freezer: Transfer to a container and freeze for 2 hours before serving for scoopable consistency.
Method 5: French Custard Method
Heat the Dairy: Warm milk and half the cream in a saucepan until steaming but not boiling.
Create Custard Base: Whisk egg yolks, sugar, and salt in a separate bowl until pale yellow. Slowly add warm milk mixture while whisking constantly.
Cook the Custard: Return mixture to saucepan and cook over medium-low heat, stirring constantly, until it reaches 170°F and coats the back of a spoon.
Chill and Freeze: Strain custard, add remaining cream and vanilla, cool completely, then churn in an ice cream maker.
Nutritional Information
Average per ½ cup serving (values vary slightly by method):
- Calories: 280
- Fat: 22g
- Carbohydrates: 18g
- Protein: 3g
- Sugar: 17g
These homemade versions contain approximately 40% fewer additives than commercial brands and allow complete control over ingredient quality.
Healthier Alternatives for the Recipe
- Replace sugar with honey or maple syrup (use ⅔ cup for every cup of sugar)
- Substitute half-and-half for heavy cream to reduce fat content by 30%
- Add 1 tablespoon of cornstarch to milk-based recipes for creaminess without extra fat
- Try Greek yogurt in place of some cream for added protein and probiotics
- For keto-friendly versions, use allulose or erythritol and increase fat content with additional cream
Serving Suggestions
- Serve in pre-chilled bowls to prevent rapid melting
- Pair with warm desserts for temperature contrast (brownies, pie, etc.)
- Create an ice cream sandwich with homemade chocolate chip cookies
- Drizzle with warm espresso for a quick affogato
- Top with seasonal fresh fruits, toasted nuts, or a sprinkle of sea salt to enhance vanilla flavor
Common Mistakes to Avoid
- Rushing the Freezing Process: Studies show that gradual freezing creates smaller ice crystals and smoother texture.
- Over-Churning: Stop when the consistency resembles soft-serve to prevent butter formation.
- Incorrect Storage Temperature: Keep homemade ice cream at 0°F (-18°C) or below for best texture.
- Forgetting the Salt: Salt lowers the freezing point of ice and is crucial for proper freezing in manual methods.
- Using Cold Eggs in Custard: Room temperature eggs prevent curdling when added to warm milk.
Storing Tips for the Recipe
- Store in a shallow, airtight container to minimize exposure to air.
- Place plastic wrap directly on the ice cream’s surface before covering to prevent freezer burn.
- Homemade vanilla ice cream maintains peak quality for 1-2 weeks, compared to commercial versions’ 2-3 months.
- For the creamiest texture, store in the back of the freezer where temperatures remain most consistent.
- Allow to soften at room temperature for 5-10 minutes before serving for optimal scoopability.
Conclusion
Now you’re equipped with 5 foolproof methods to make delicious vanilla ice cream at home, from quick no-churn options to gourmet French custard. Each approach offers distinct advantages, whether you prioritize simplicity, texture, or flavor intensity. The beauty of homemade ice cream lies in its purity and adaptability—once you master these basic techniques, you can experiment with countless flavor variations. Remember that patience during the freezing process rewards you with smoother, creamier results. Which method will you try first? Share your homemade ice cream creations with us in the comments below!
FAQs
Q: Do I really need an ice cream maker to make good vanilla ice cream?
A: Absolutely not! While ice cream makers produce excellent texture, methods 1-3 require no special equipment and deliver delicious results.
Q: Why is my homemade ice cream icy instead of creamy?
A: Ice crystals typically form from either insufficient fat content or improper freezing. Try adding more cream, using egg yolks, or stirring the mixture several times during freezing.
Q: Can I make vanilla ice cream with non-dairy milk?
A: Yes! Full-fat coconut milk and cashew cream work best as substitutes. Plant-based milks with lower fat content may require additional thickeners like cornstarch.
Q: How long does homemade vanilla ice cream last?
A: For best quality, consume within 1-2 weeks. Unlike commercial ice cream with stabilizers, homemade versions develop ice crystals more quickly.
Q: What’s the difference between using vanilla extract and vanilla beans?
A: Vanilla beans provide more intense, complex flavor and visible specks in the ice cream. Extract offers convenience and consistent results, though slightly less depth of flavor.
Did You Try It ?
There are no reviews yet. Be the first one to write one.